
Last updated November 2, 2026
 Wrought iron
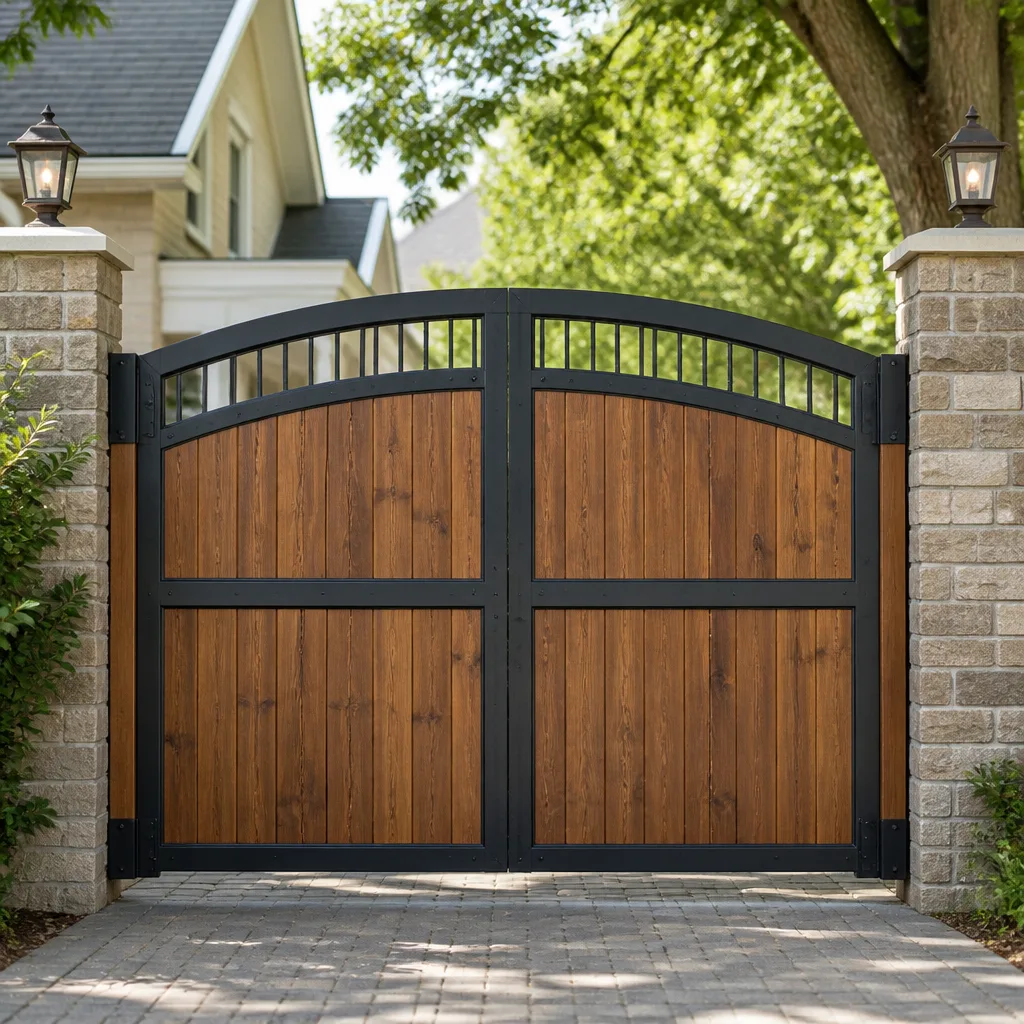 Wood & steel frame
 Farm & ranch
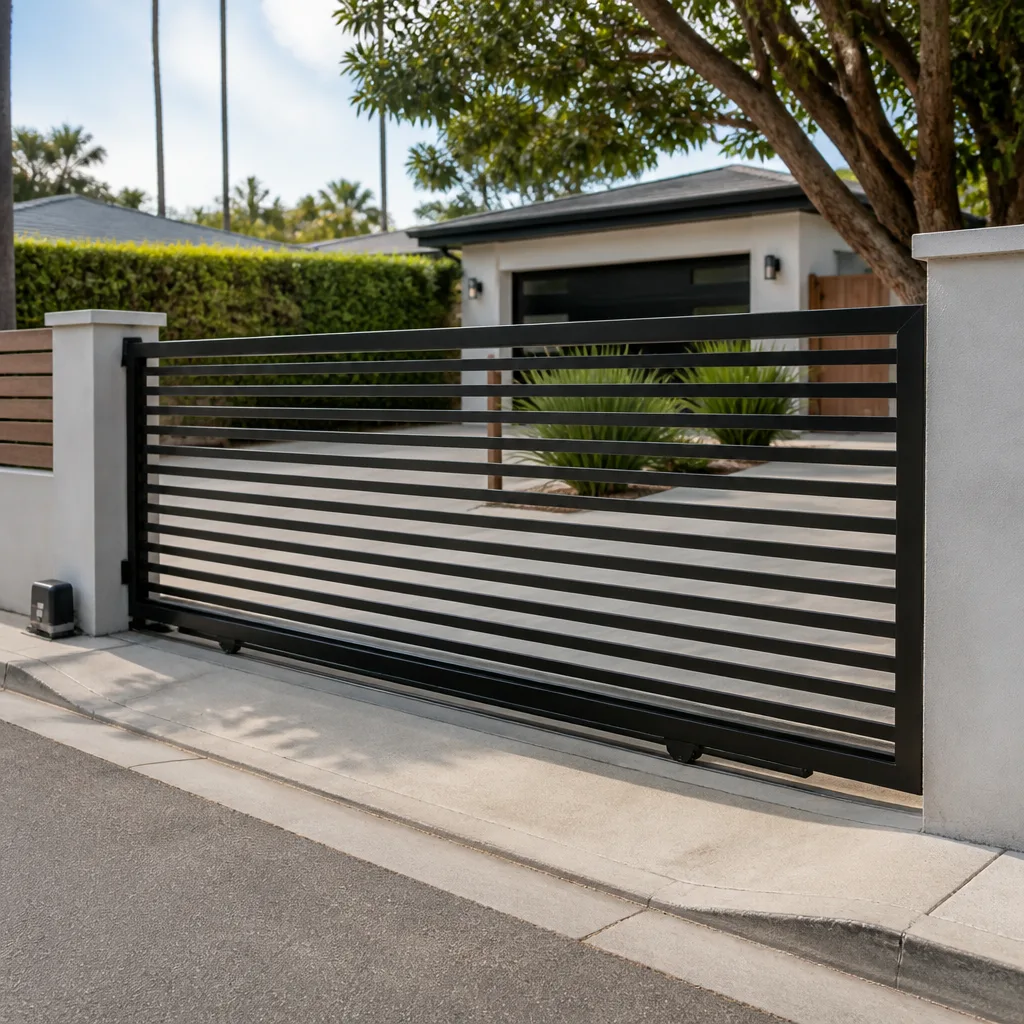 Sliding driveway gates
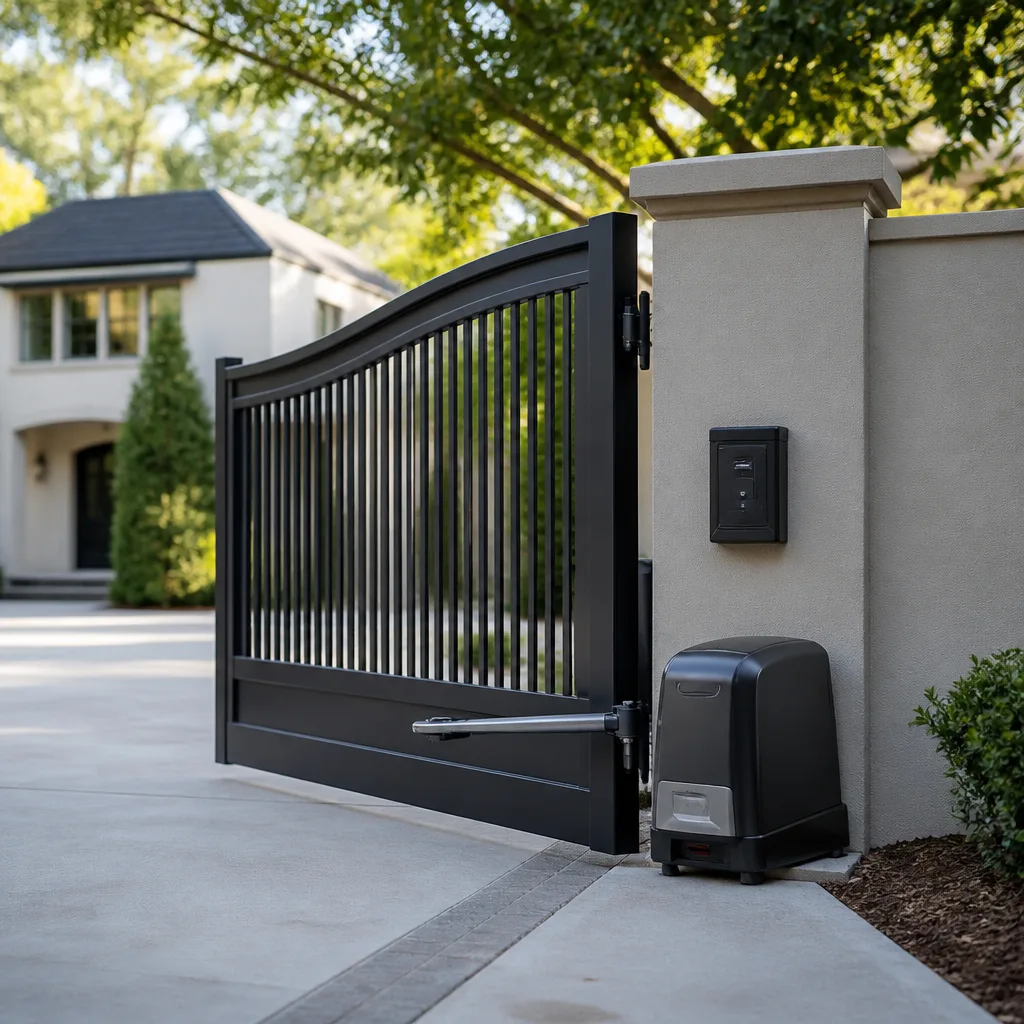 LiftMaster operators
Free on-site gate assessment - hinges, posts, and your LiftMaster or Nice gate operator checked before anything is quoted
The assessment is free and the quote is the invoice.
Get your free estimateGate Repair Maintenance Checklist for Chula Vista Homeowners
Most gate maintenance guides read like they were written by someone who has never stood in a Chula Vista driveway in August. They tell you to “lubricate hinges” and “check batteries” and call it a day. That’s useful for about three weeks, until the marine layer rolls into Telegraph Canyon and the lithium grease you applied starts attracting dust, or the solar panel on the east side of Eastlake stops getting afternoon sun because of a neighbor’s new palm. What actually works is a checklist organized by gate type and drive system, not by calendar month. This guide is built that way. We’ll walk through manual swing gates, electric swing gates, and electric sliding gates separately, because each fails in different ways and each needs different attention. By the end, you’ll have a maintenance routine you can execute in under an hour per quarter, plus a clear sense of when to call a technician before a small adjustment becomes a welded hinge and a four-figure repair.
Styles & brands we work with
- Wrought iron
- Wood & steel frame
- Farm & ranch
- Sliding driveway gates
- LiftMaster operators
Quick Answer
A gate maintenance checklist for Chula Vista homeowners should be organized by gate type and drive system, not by month. Manual swing gates need hinge and latch inspections plus lubrication with lithium grease. Electric swing gates add monthly auto-reverse force testing, battery checks, and limit-switch verification. Electric sliding gates need track cleaning, wheel pressure checks, and photogate alignment tests more than anything else. Run through the appropriate checklist every 90 days, photograph critical components as you go, and call a specialist the moment you hear metallic grinding or feel resistance that wasn’t there before.
Table of Contents
- Manual Swing Gate Maintenance Checklist
- Electric Swing Gate Maintenance Checklist
- Electric Sliding Gate Maintenance Checklist
- How Chula Vista’s Climate Changes Gate Maintenance
- The Auto-Reverse Test That Prevents $1,800 Gearbox Repairs
- Photo Documentation: The 6 Components to Capture Quarterly
- When a ‘Clean’ Maintenance Check Should Still Trigger a Professional Call
- Common Mistakes to Avoid
- When to Call a Professional
- Frequently Asked Questions
- The Bottom Line
Manual Swing Gate Maintenance Checklist
Manual swing gates are the least mechanically complicated gate type in Chula Vista, which means homeowners tend to ignore them until the gate drags across the concrete or won’t latch. That’s a mistake. A manual gate is still a moving steel structure, often 8 to 14 feet long, and every hinge, latch, and drop rod carries real load. Without routine attention, the gate doesn’t just get noisy. It starts wearing its own hardware, then the post, then the concrete around the post. In Chula Vista, where the soil in neighborhoods like Otay Ranch can shift subtly with winter rains and summer drying cycles, posting problems show up as gate sag before they show up as cracked concrete.
Here’s the quarterly checklist for manual swing gates:
- Lift check. Grab the gate near the latch and try to lift it straight up. Any vertical movement over 1/8 inch tells you the hinge bearings are worn. Don’t ignore this. Worn bearings put the entire gate load on the post, and the post will eventually lean.
- Lubricate the hinges sparingly. White lithium grease on the hinge pins only. One short spray, not a flood. Too much grease in a dry, dusty Chula Vista climate turns into grit paste, which accelerates wear instead of reducing it.
- Check the latch alignment. Close the gate slowly and watch the latch engage. If you have to correct the gate’s position mid-swing to get it to latch, the gate is starting to sag. The fix is usually adjusting the hinge, not replacing the latch.
- Inspect drop rods. Drop rods pin the gate into the concrete. If one rod is bent or won’t sit fully in its sleeve, the gate frame is twisting. Straighten the rod or call for hinge adjustment before the twist becomes permanent.
- Examine hinge welds and bolts. Look for hairline cracks in painted welds and any bolt that has started to back out. A quarter-turn with a wrench now is cheaper than a broken weld later.
- Check the stop post pad. The rubber or plastic pad on the stop post takes the gate’s closing impact. If it’s cracked, missing, or compressed flat, the gate is hitting steel on steel, and the frame is absorbing that force. Replace the pad.
This entire routine takes 20 minutes once you know where to look. If the lift check shows more than 1/8 inch of play, the hinge pins are done and the gate needs attention before it damages the post. That’s a repair call, not a wait-and-see situation.
Electric Swing Gate Maintenance Checklist
Electric swing gates account for the majority of the gate repair calls we see in Chula Vista, particularly in neighborhoods where the gate is the primary access point and cycles 6 to 12 times a day. The electric swing gate system is more than a hinge and a latch. You have an operator, a control board, a battery or direct power supply, safety edges or photogates, and the mechanical arms that transmit force. When any one element drifts out of spec, the system compensates in ways that quietly damage other components. The operator arm, for example, doesn’t just push harder when a hinge starts binding. It pulls more amperage, heats up more, and shortens the life of the motor windings. By the time the homeowner notices the gate is slower, the damage is already done.
Run this checklist every 90 days on an electric swing gate:
- Run the auto-reverse force test. Place a solid object, like a 5-gallon bucket filled with a few inches of concrete, in the gate’s closing path. The gate should stop and reverse on contact, without applying enough pressure to damage the object. If the gate pushes hard against the bucket before reversing, the force setting has been turned up, usually by a technician or homeowner compensating for a mechanical bind. That’s a red flag. High force settings destroy gearboxes and defeat the safety function.
- Test the photogates. Wave your hand through the photogate path while the gate is closing. If the gate doesn’t stop and reverse within one second, the photogates are either misaligned or dirty. Clean the lenses and retest. If the gate still doesn’t respond, call a technician.
- Check the operator arms. Look at the attachment points where the arms connect to the gate frame and the post. Any wobble, loose bolts, or visible play means the arm is working against itself. Tighten what you can reach without opening the operator arm housing.
- Inspect battery voltage if the gate has battery backup. Most electric swing gates in Chula Vista have a backup battery so the gate works during the power outages that come with Santa Ana winds or grid strain in the eastern part of the city. Test voltage with a simple multimeter. A fully charged 12-volt battery should read between 12.6 and 13.2 volts. Anything under 12.2 means the battery is degrading and won’t carry the gate through a real outage.
- Listen to the cycle sound. A healthy electric swing gate operator hums steadily. A pulsing rhythm or a high-pitched whine means the capacitor or the gearbox is stressed. Note the change and compare it the next time.
- Check the safety edges if installed. Press the rubber safety edge strip by hand at three points: top, middle, and bottom. Each press should trigger the gate to reverse. A dead zone in the safety edge is a safety failure, not a nuisance. Replace the strip.
One thing we tell every homeowner with an electric swing gate in Chula Vista: if you ever hear the operator straining harder than it did six months ago, something changed mechanically. Operators don’t get tired. They push against a restriction. Find the restriction early and you’ve saved the gearbox.
Electric Sliding Gate Maintenance Checklist
Electric sliding gates are workhorses. We see them all over Chula Vista’s commercial properties, and a growing number of residential installations in Rancho del Rey and Rolling Hills Ranch where long driveways and wide openings make sliding gates the better use of space. The sliding gate moves on wheels or bearings along a steel track, and its primary failure mode is not electronics. It’s friction. When the track gets dirty, when a wheel bearing wears, or when the gate frame starts dragging, the operator motor works harder. The same amperage-draw problem applies here as it does on swing gates, but sliding gates have an additional vulnerability: the track itself.
Follow this checklist quarterly for electric sliding gates:
- Clean the V-track or box track. Chula Vista’s dry season puts a fine layer of dust on everything, and that dust packs into the track channels. Remove debris with a stiff brush and a blower, not a pressure washer. Water and grit make a grinding compound. If the track is heavily packed, use a small flathead screwdriver to loosen it, then brush it out.
- Inspect wheel bearings. Roll the gate by hand with the operator disengaged. Watch each wheel. A wheel that doesn’t spin freely, wobbles side to side, or skips instead of rolling is failing. On a 2,000-pound gate, one bad wheel transfers its load to the next wheel, which then fails faster. Replace bearings at the first sign of play.
- Check the chain or rack tension. The chain or rack drives the gate along the track. If there’s more than half an inch of sag in a chain, or if the rack has a section where the teeth are visibly worn, the gate will jerk at that point. Jerking loads are what kill sliding gate gearboxes.
- Test the limit switch stops. Run the gate open and closed. The gate should stop 1 to 2 inches before it slams into the physical end stops. If the gate bumps the end stops hard or stops too early, the limit switch is out of adjustment.
- Inspect the anti-derailment posts. These are the vertical posts or brackets that keep the gate from tipping off the track if a wheel fails. They should sit close, but not touching, the gate frame. Bent anti-derail posts mean the gate has already tried to tip once.
- Test photogate alignment. Sliding gates in Chula Vista need photogates at both the opening and closing directions. Cover one photogate with your hand while the gate is moving and verify it stops immediately. Re-clean and realign as needed.
The biggest repeat offender on sliding gates in Chula Vista is the track. The dust is fine and abrasive, and it migrates into the roller channels. When the gate starts to sound like it’s dragging a chain over concrete, it usually is, and it’s telling you the track needs cleaning or a wheel bearing has failed. You can learn more about how we approach sliding gate problems on our Gate Repair in Chula Vista page.
How Chula Vista’s Climate Changes Gate Maintenance
Chula Vista doesn’t have a single climate. The west side sits under the marine layer for much of the year, with morning fog and moderate temperatures. The east side, out toward Otay Lakes and the neighborhoods beyond Olympic Parkway, gets real heat and less ocean influence. Gate hardware responds to these differences. A gate in the Otay Ranch area bakes in direct sun until the metal gets hot enough to expand measurably, while a gate in the Terra Nova or Telegraph Canyon area spends mornings damp with condensation. The maintenance calendar that works for one won’t work for the other.
For the east side, where the summers are hotter and dust is a constant companion, lubrication needs to be more frequent but lighter. The dust load in the air is higher, and any overspray of lubricant turns sticky within days. A heat-protective lubricant, applied sparingly to high-contact surfaces, serves better than a heavy grease. For fences and gates on the west side, the issue is moisture. Condensation forms on gate hardware almost every summer morning, and the moisture accelerates rust on exposed steel. Touch-up paint on any scratches or chips should happen in September, before the winter rain season arrives and those bare spots start oxidizing.
The other Chula Vista-specific factor is wind. When the Santa Anas come through, they carry grit and put lateral pressure on every gate panel. Top-hung sliding gates that were marginal in calm weather begin swinging and shaking in the wind, which stresses the top track and the guide rollers. Swing gates that catch wind load on the full panel surface start pulling on their hinges. If your gate moves visibly during a wind event, it’s not a cosmetic thing. The wind is flexing the structure, and over enough cycles, that flexing cracks welds and loosens bolts.
And then there’s the soil. Neighborhoods in eastern Chula Vista, particularly the newer developments where cut-and-fill grading created the lots, can see measurable soil settlement over the first 5 to 7 years after construction. When the soil settles, gate posts can tilt. A gate that used to close evenly now catches the latch or drags across the driveway. The gate didn’t wear out. The ground moved. If you see this, the fix is re-shimming and sometimes re-setting the post, not forcing the hinge.
All of this is why we don’t believe in a generic monthly maintenance calendar. Chula Vista conditions are too varied. The checklist needs to be built around the gate you actually have, on the property you actually own, not around a date on the wall. If you have an electric gate and want to understand the full scope of what those systems involve, our Electric Gate Repair in Chula Vista page breaks it down system by system.
The Auto-Reverse Test That Prevents $1,800 Gearbox Repairs
Here’s the single most skipped maintenance task on electric gates, in Chula Vista and everywhere else: verifying that the auto-reverse force setting hasn’t drifted. Most homeowners assume the safety reverse function either works or doesn’t. That’s a binary way to think about a system that actually degrades gradually. The operator’s force setting, which determines how hard the gate pushes before it reverses on obstruction, is an adjustable parameter. When the gate starts binding because of a dry hinge or a dirty track, the gate pushes harder. The original installer may have turned up the force setting to compensate. The previous homeowner may have done it. A previous technician may have done it on a service call and never turned it back down.
The problem is that a high force setting doesn’t just defeat the safety function. It also accelerates gearbox wear, because the mechanical load on the gear teeth is higher with every cycle. The operator is doing the equivalent of driving up a hill in too high a gear, every single time. Over 12 to 18 months, that force overload carves into the gearbox. Then the gate starts making a grinding noise, or the operator begins slipping, and the repair bill lands at $1,200 to $1,800 for a gearbox replacement on a typical residential swing gate in Chula Vista. The gearbox didn’t fail because it was old. It failed because the force setting was compensating for a problem that should have been fixed separately.
Here’s how to test it without any special tools:
- Set up an obstruction. A 5-gallon bucket filled with a few inches of concrete or sand works well. It’s heavy enough to be a real obstruction but light enough that it should never be damaged if the auto-reverse is functioning. Place it in the gate’s closing path, about 3 feet from the fully closed position.
- Close the gate. Let the gate close under normal operation. Stand back and watch what happens when it contacts the bucket.
- Observe the reversal timing. The gate should begin reversing within 1 second of contact. It should not push the bucket forward. It should not pause and then reverse. It should reverse immediately, like it touched something hot.
- Repeat the test monthly. If the gate reacts more slowly or pushes harder than it did the month before, something is changing. The force setting may have drifted, or the mechanical resistance is increasing, or both.
What the test result tells you: if the gate reverses immediately but the motor sounds labored during normal operation, the issue is mechanical binding, meaning the operator is working harder than it should. If the gate pushes the bucket and doesn’t reverse until it’s actively shoving it, the force setting is too high. Both are correctable, but they require different fixes. And leaving either one unaddressed is how a $150 hinge replacement becomes an $1,800 gearbox replacement.
Photo Documentation: The 6 Components to Capture Quarterly
We recommend that every Chula Vista homeowner who owns a gate, manual or electric, start a simple photo-documentation habit. The goal is to build a repair history that protects you in two ways. First, it gives any technician a baseline. Second, it gives you a reference when someone tells you a component is “worn out” and needs immediate replacement. When you have a photo from three months ago showing the same part looked identical, you can ask the right question. It’s the single best defense against overcharging in the gate repair trade, which is a real problem in this market.
Six components to photograph every quarter:
- Hinge pins and brackets. Take a close-up of each hinge from the side and the top. These photos show the beginning of sag, rust, or bearing wear. When a technician says your hinges are shot, compare the photo from a year ago.
- Latch and strike plate. Capture the alignment of the latch mechanism against the strike plate. If the gate starts drifting out of alignment, you’ll see the change in a photo before you feel it in the hand.
- Operator arm connections. For electric gates, photograph the bolt hole where the arm attaches to the gate frame. Bolts that are working loose show progressive oval-shaped wear patterns around the hole. A photo sequence makes that progression obvious.
- Wheels or rollers on sliding gates. Close-ups of each wheel or bearing, from the side and the bottom. Worn bearings show visible deformation at the seal line over time.
- Control board interior. Open the control box and photograph the board, terminals, and wire routing. This photo is for you as much as for the technician. When a repair is done, you have a “before” reference for what was touched and what was not.
- Safety edge and photogate positions. Wide shots showing where the safety edges sit on the gate frame and where the photogates point. If a weed or a landscaping rock shifts a photogate housing, you’ll see it in the comparison.
Store the photos in an album on your phone, dated. It takes ten minutes per quarter. We’ve used homeowner photo histories to find intermittent faults that had been present for two years, visibly, in a sequence of images that no one had compared. And we’ve used them to save homeowners from paying for repairs they didn’t need. For information about keeping your gate reliably operational over the long term, the Gate Repair Chula Vista home page covers the scope of what we do across the city.
When a ‘Clean’ Maintenance Check Should Still Trigger a Professional Call
This is the section where we tell you what the checklist can’t catch. A maintenance checklist designed for homeowners is a way to stay ahead of obvious problems. But some gate failures are invisible until they’re sudden, and some indicators only become obvious when you know what a specific brand of operator sounds like when it’s failing. That’s the difference between routine maintenance and an experienced diagnosis.
Here are the non-obvious indicators that should push you to call a professional in Chula Vista, even when your quarterly checklist comes back clean:
- A change in operator sound that you can’t quite describe. When a LiftMaster operator starts developing a failing capacitor, it doesn’t sound broken. It sounds slightly different. The hum is a fraction higher in pitch, or there’s a pause between functions that wasn’t there before. If you’re hearing it but can’t put your finger on it, that’s enough to justify a call.
- The gate seems slightly slower at the end of its travel. Not slow enough to flag, just not quite the same as it was. FAAC and BFT operators, in particular, will slow before they stop as a symptom of a failing limit switch or an obstruction in a feedback sensor. You’re not imagining it.
- The control board shows a status light pattern you don’t recognize. Most boards have diagnostic lights or codes. If the pattern changed but the gate still works, don’t ignore it. The lights are the board’s way of telling you it detected a fault and worked around it. The code is a window into what’s coming.
- The gate closes, but the latch doesn’t engage anymore. On a Linear or Viking electric swing gate, a latch that doesn’t engage can mean the gate is over-traveling slightly, which is a limit switch issue. You can’t fix this with a wrench. The limit switch needs adjustment or replacement.
- Your neighbors mention that the gate reversed on them while they were driving through. This comment usually feels like nothing. It’s actually a photogate alignment drift or a safety edge failure in progress. By the time you notice it yourself, it may have failed completely.
Every one of these is an early indicator. None of them require emergency dispatch, but all of them respond better to a $150 adjustment than to a $700 board replacement. We’ve seen too many gates in Chula Vista go from “acting a little weird” to “completely dead” in the span of a month because an early indicator got rationalized away.
Common Mistakes to Avoid
- Using silicone spray on gate hinges. Silicone spray works fine on rubber weatherstripping and some plastic rollers. On metal gate hinges in Chula Vista’s dust, silicone is too light and gets displaced quickly. Use white lithium grease on hinge pins and nothing else on the actual wear surface.
- Lubricating a dirty track without cleaning it first. Most sliding gate failures at home start because someone sprayed a lubricant directly onto a dusty track. The dust mixes with the lubricant and becomes a grinding compound. Always remove the debris before applying anything.
- Ignoring a gate that’s begun to sag because “it still opens.” A sagging gate doesn’t just sag. It pulls the post, bends the hinge, and eventually snaps the weld somewhere. The longer it sags, the more expensive the repair. A hinge adjustment now is always cheaper than a post reset later.
- Turning up the force setting to fix a dragging gate. This is the exact move that causes gearbox failure within 18 months. If the gate is dragging, the mechanical problem is still there, and now the operator is under additional strain. Fix the drag. Don’t crank the dial.
- Replacing the battery every time the gate fails during a power outage. A gate that won’t run on battery backup might have a bad battery, but it could also be a charging issue, a corroded terminal, or a failed transfer relay. Swapping the battery without checking those things masks the actual problem.
- Waiting until the gate stops working to call for service. Maintenance exists to prevent that moment. If you’ve been hearing a new noise, seeing a new hesitation, or noticing a different smell from the control box for two months, the gate has been telling you something. The day it stops is the day the repair gets expensive.
If you’re unsure whether a problem you’re seeing matches any of these patterns, call a professional rather than guessing. Need more detail on specific repairs? Our Gate Installation in Chula Vista page covers what goes into a new gate and operator package, which will give you context for what’s wearing on your existing system.
When to Call a Professional
Some maintenance tasks cross a line. If a hinge bolt is seized and won’t loosen, don’t heat it with a torch on a gate attached to your house or your neighbor’s fence line. If the control board is showing damage, don’t open the box and start testing individual terminals with a multimeter unless you know exactly what you’re doing, because the capacitors in some brands hold charge even after power is removed. If the gate is binding so badly that the operator or the hinge bracket is under visible stress, stop. Every time you run that gate, you are doing the mechanical damage that becomes a bigger repair bill. If the track has shifted and the gate is grinding against the rail, forcing it back into position with a pry bar won’t fix the underlying alignment problem. And if you are at all unsure whether an electric gate component is safe to handle, it isn’t, not without training, because some operator arms store significant mechanical spring energy even disconnected from power.
Gate Repair Chula Vista offers free estimates in Chula Vista. If you’re looking at a gate problem that doesn’t fit a simple checklist item, call (833) 593-7101 and we’ll tell you whether it’s something we need to see in person. We work on LiftMaster, FAAC, BFT, Linear, and the other major electric gate operator brands, and we know which failures are mechanical, which are electrical, and which are just a bad battery.
Frequently Asked Questions
Lubricate the hinge pins on a manual or electric swing gate every 90 days, using white lithium grease and applying it sparingly. In the dustier eastern sections of Chula Vista, you can stretch that to every 4 months if the grease stays clean, but if you see any visible grit in the hinge area, clean it before adding more grease. The answer is about conditions, not the calendar. If you want specifics about repair options, see our Gate Repair in Chula Vista page.
Slow operation usually means the gate is meeting more mechanical resistance than it used to, often from a degenerating hinge, a dirty track, or a wheel bearing that’s starting to fail. It can also mean the operator is losing force because of a failing capacitor or low battery voltage. Run the manual disconnect and move the gate by hand. If it moves freely by hand, the problem is in the operator. If it’s stiff by hand, the problem is mechanical. Call (833) 593-7101 for diagnostics if you’re not sure which one you’re dealing with.
Greasing means applying a thick, heavier product, usually white lithium grease, to a contact point like a hinge pin that carries load and needs something that stays in place for months. Lubricating can mean applying a lighter product, like a dry-film lubricant or a penetrating oil, to something that needs flow or thin coverage. The distinction matters because the wrong product in the wrong place either washes off immediately or attracts dirt. For most Chula Vista gate hardware, white lithium grease on the pins is the right call, and dry lubricants are better for sliding track surfaces that can’t hold heavy grease without packing with dust.
Many electric gate operators in Chula Vista are solar-capable, including models from Ghost Controls and Mighty Mule, but solar power requires matching the panel size to the operator’s cycle count and battery capacity. An entry-level solar kit on a gate that cycles 10 times a day will undercharge the battery, and within a year the battery will fail and the gate will stop working during the exact moments you need it most. If you’re planning a solar installation, spec the panel and battery as a system, not as two separate purchases. For details on the installation side, visit our Gate Installation in Chula Vista page.
Stop running the gate and call a professional. A grinding noise is usually metal-on-metal contact somewhere in the drive system, a failing gearbox, or a wheel bearing that has collapsed. Every cycle you run while it’s grinding causes additional damage, so the cheapest time to fix it is the day you first hear it. This is the kind of problem that doesn’t improve with lubricant or adjustment.
Yes. We handle both residential and commercial gate systems in Chula Vista, including the high-cycle operators from FAAC, BFT, and DoorKing that show up on multi-unit access points. The maintenance principles scale differently for commercial gates because the cycle counts are higher, the operators are heavier, and the safety compliance requirements are stricter. We service the full spectrum from a single-family Mighty Mule installation to a commercial sliding gate with safety loops and access control integration. The same principles apply, but the intervals tighten as the gate cycles more.
The Bottom Line
A working maintenance checklist for a Chula Vista gate is not a list of dates. It’s a list of tests and observations organized around the equipment you actually own. Manual swing gates need attention to hinges and latches before they sag and pull the posts. Electric swing gates need monthly auto-reverse testing and a close ear on the operator sound. Sliding gates need a clean track and healthy wheel bearings more than they need anything else. And every homeowner, regardless of gate type, should be photographing key components quarterly and saving those images. The point of all of this is the same: catch the small mechanical change before it becomes a dead gearbox, a cracked weld, or a gate that won’t secure the property. If anything on your checklist raises a question you can’t answer with confidence, call a specialist. It’s cheaper than waiting.
Written by the team at Gate Repair Chula Vista, serving Chula Vista since 2016.
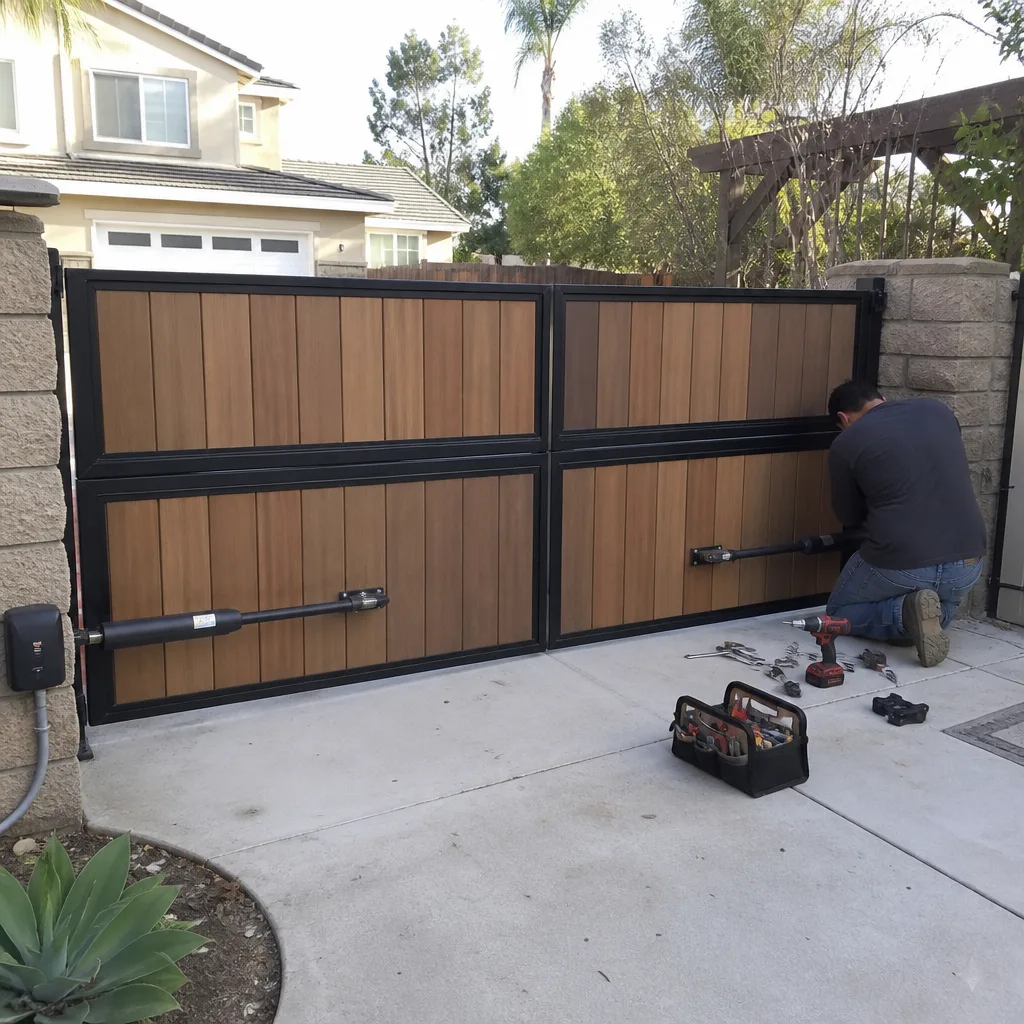
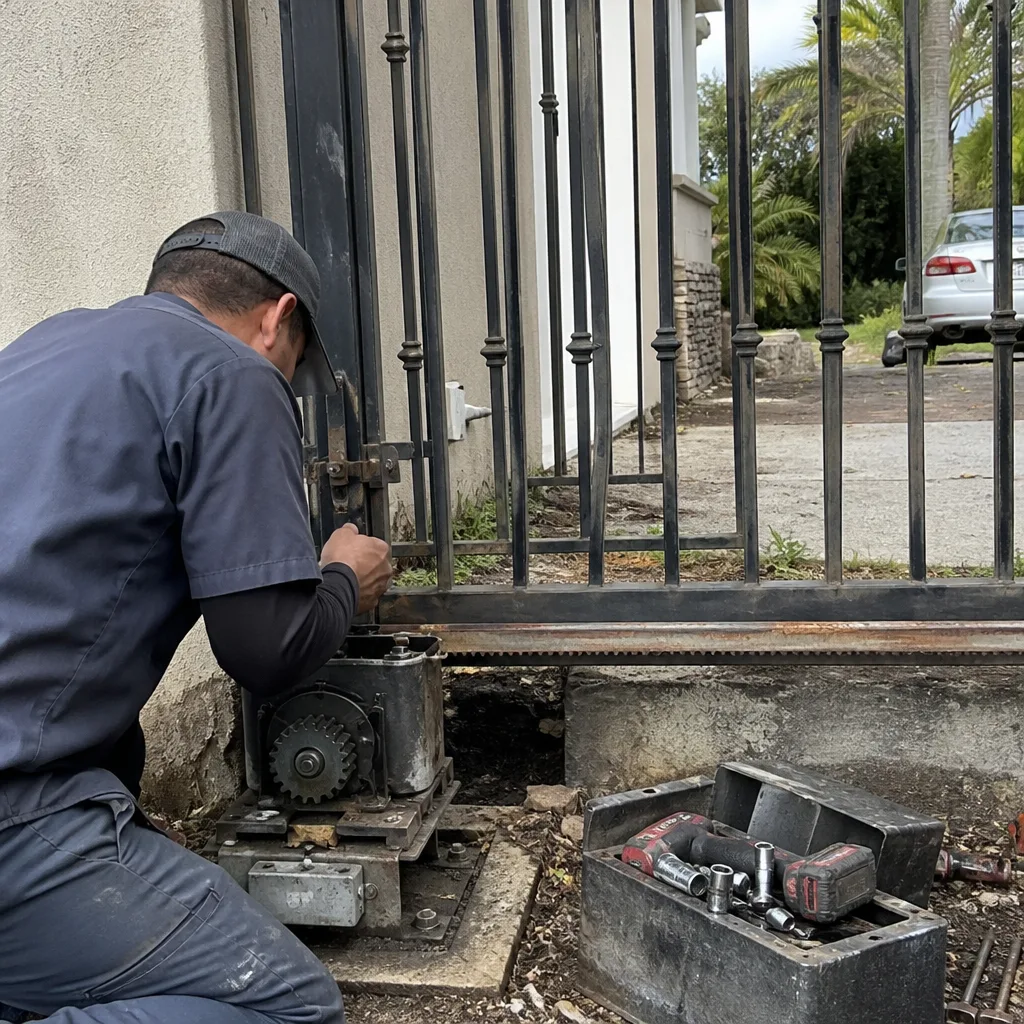
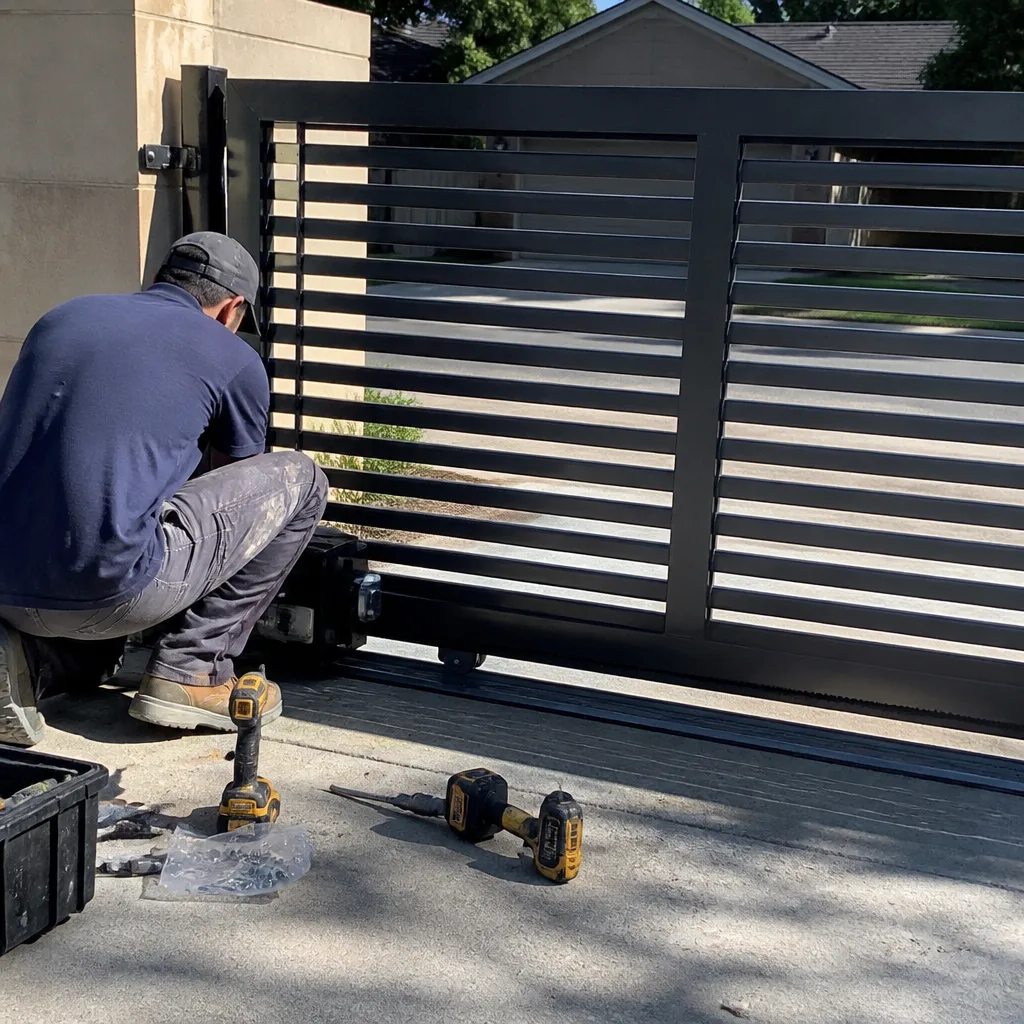
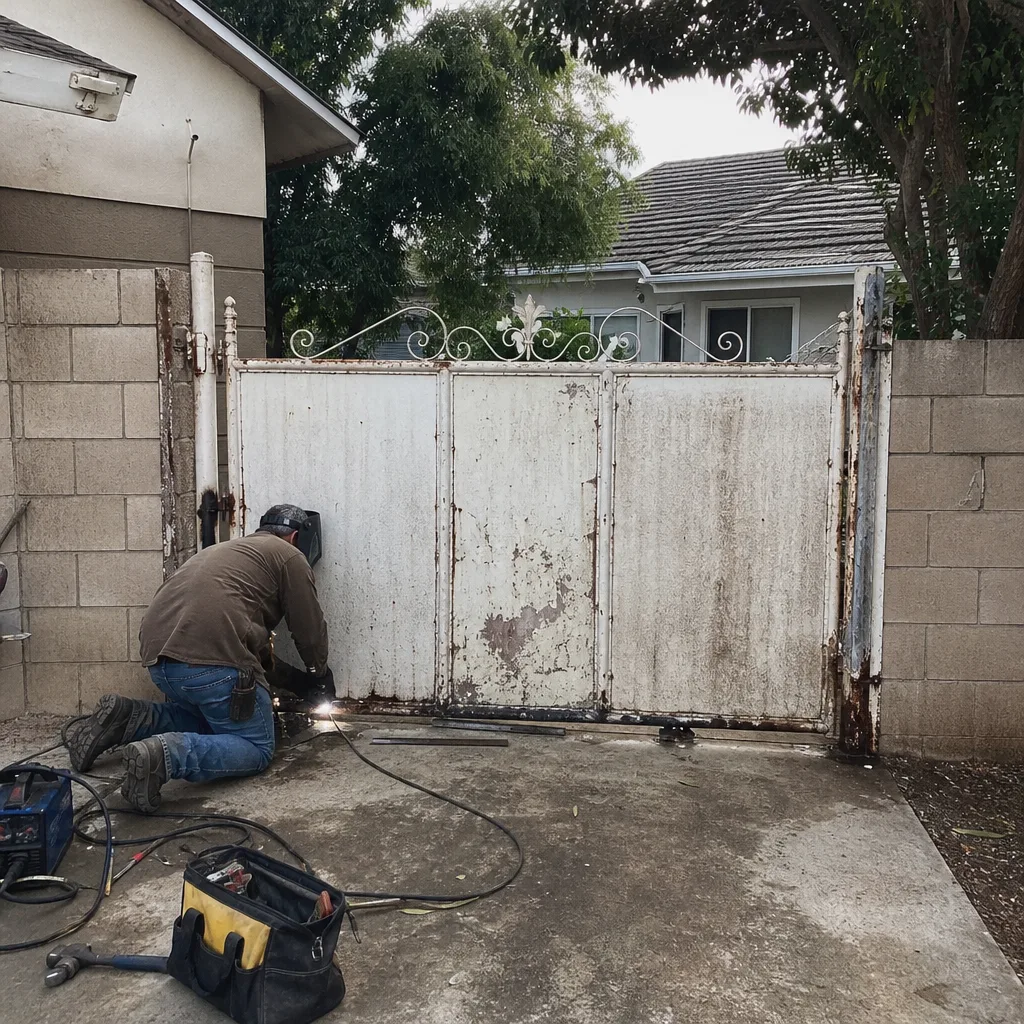
See the difference
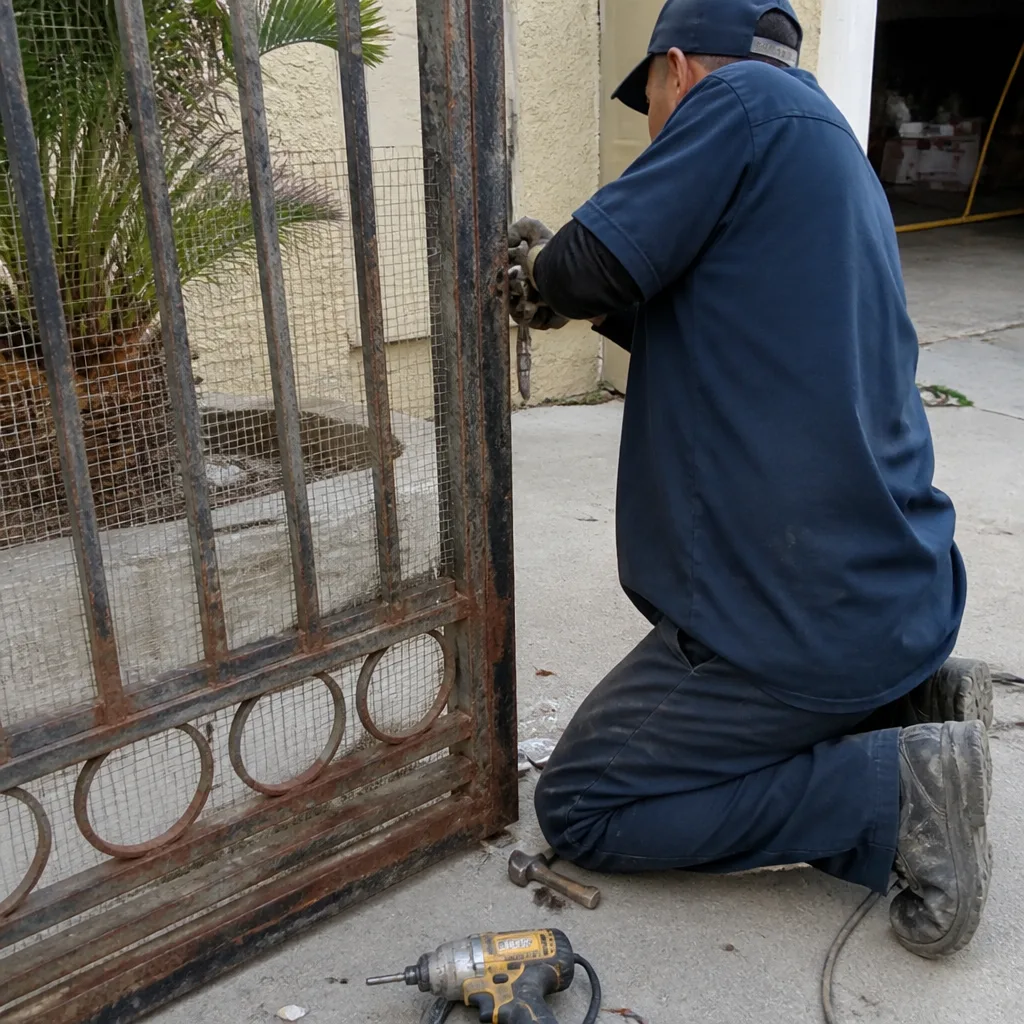 Before
 After
 Before
 After
 Before
 After